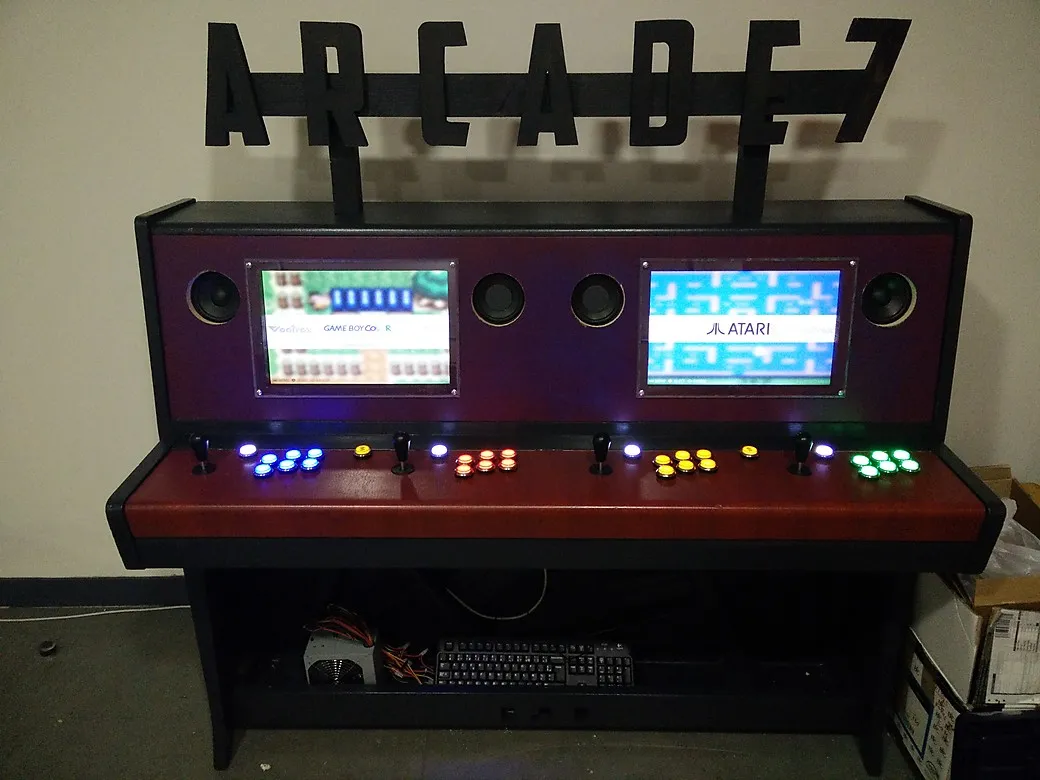
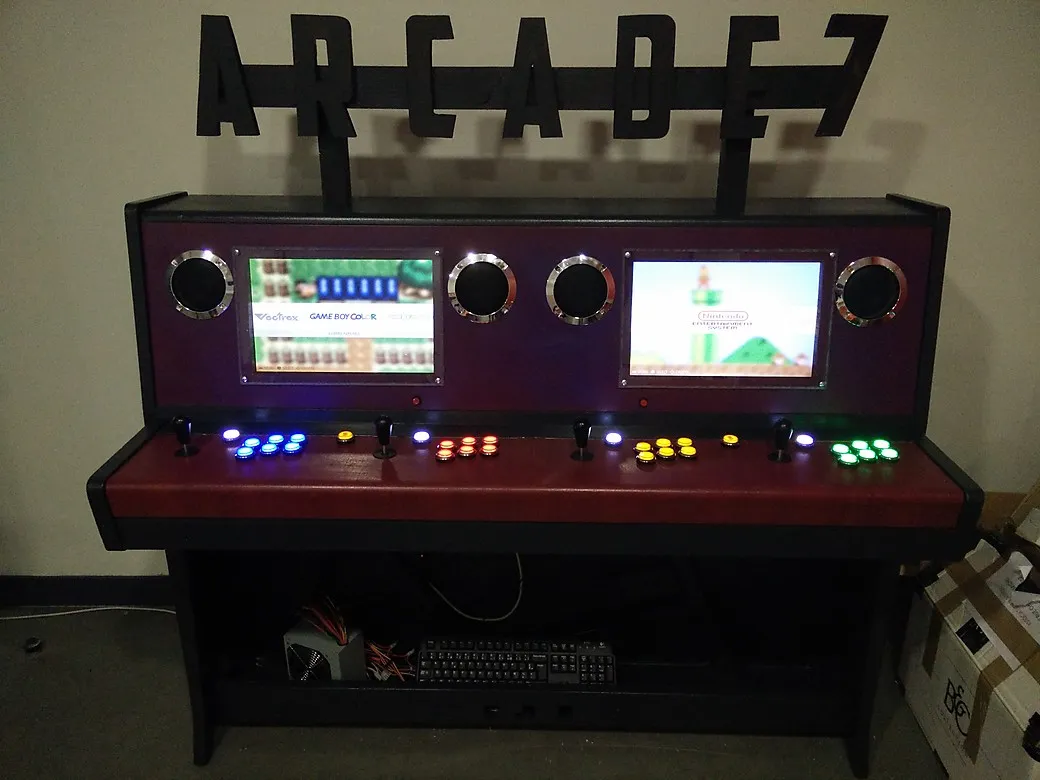
Arcade7 — Homemade arcade machine
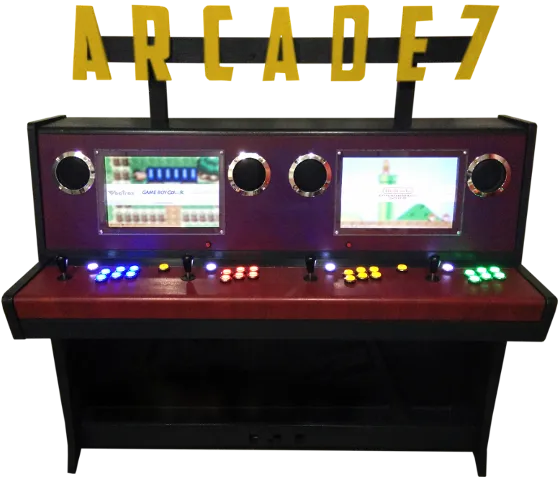
Designed for ENSEEIHT students’ leisure room
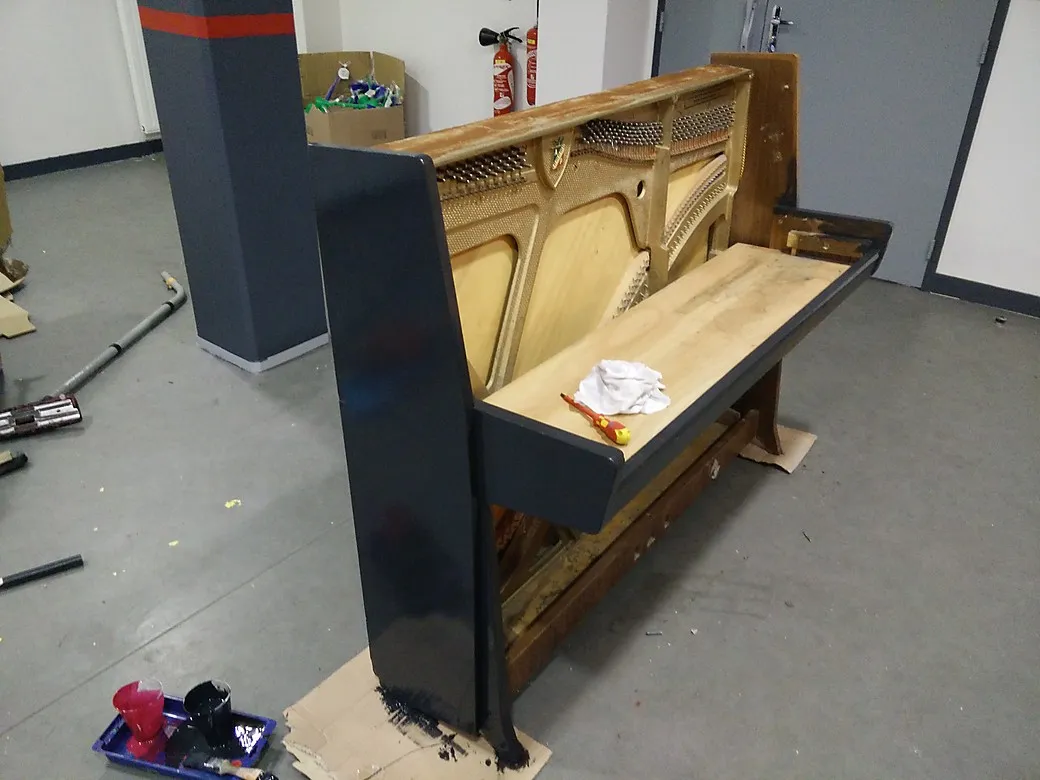
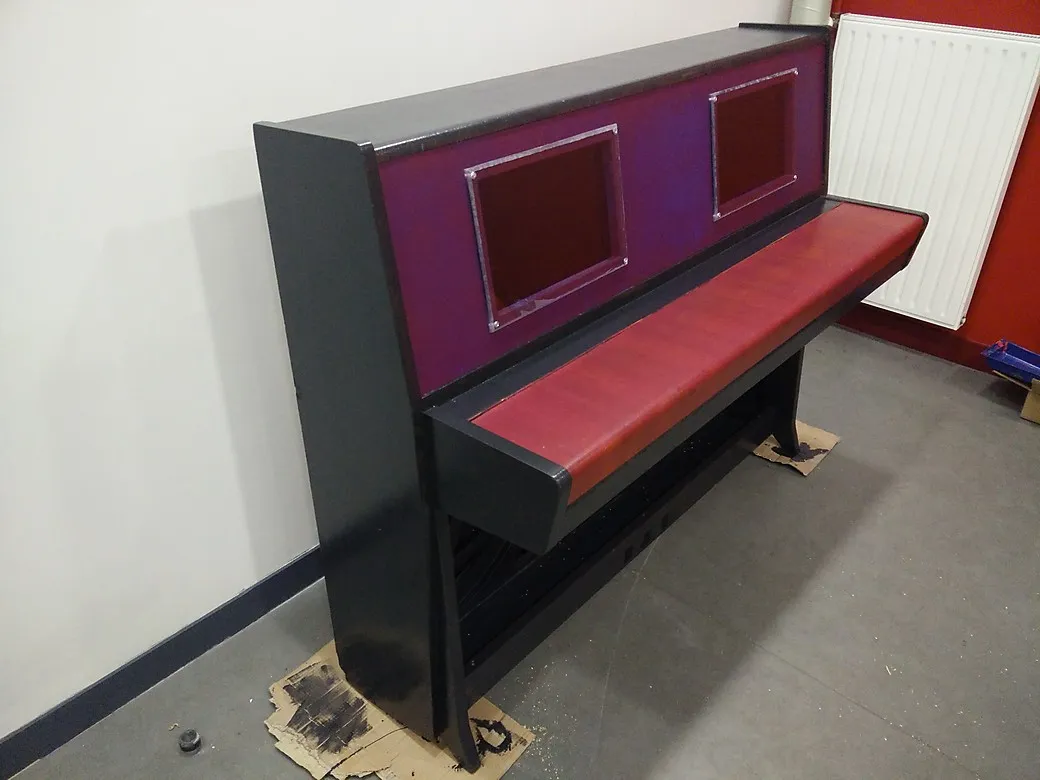
In order to lighten the structure and make some room for the incoming electronics, all the mechanical parts from the piano have been removed and every string has been cut in deafening apocalyptical dissonant chords. Don’t forget to put on strong gloves and glasses if you do that, there really is a lot of tension in these!
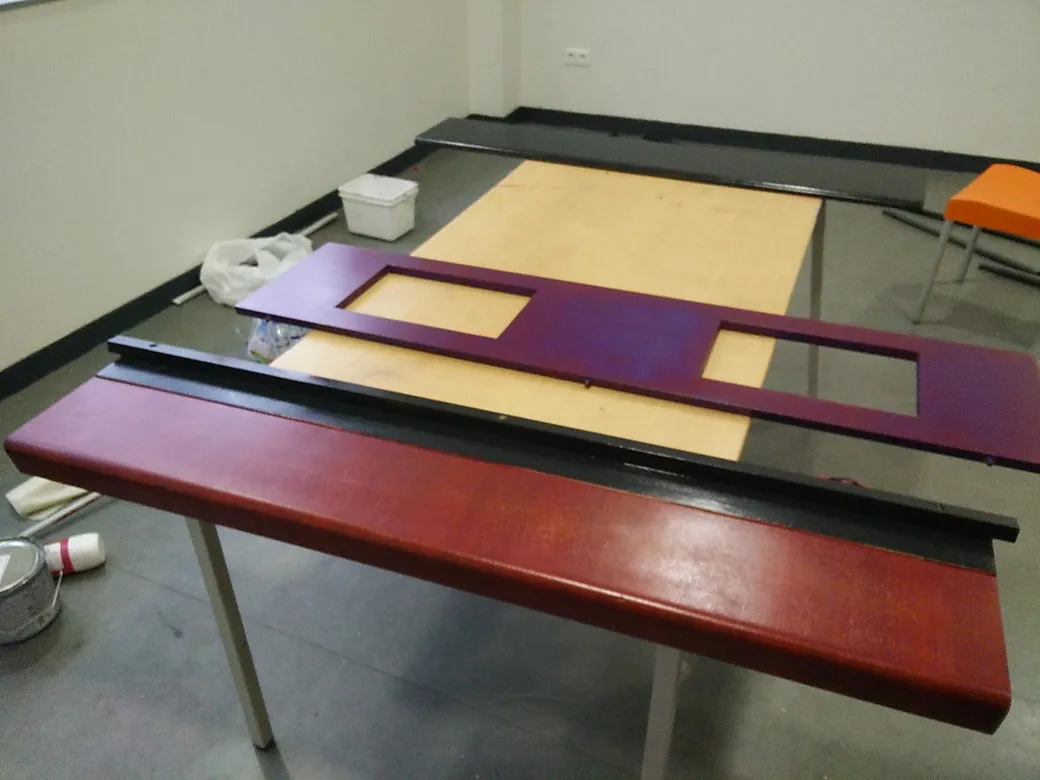
After that, we jigsawed out rectangles from the front panel of the piano to place the LCD screens and refreshed that old piano with some fancy paint.
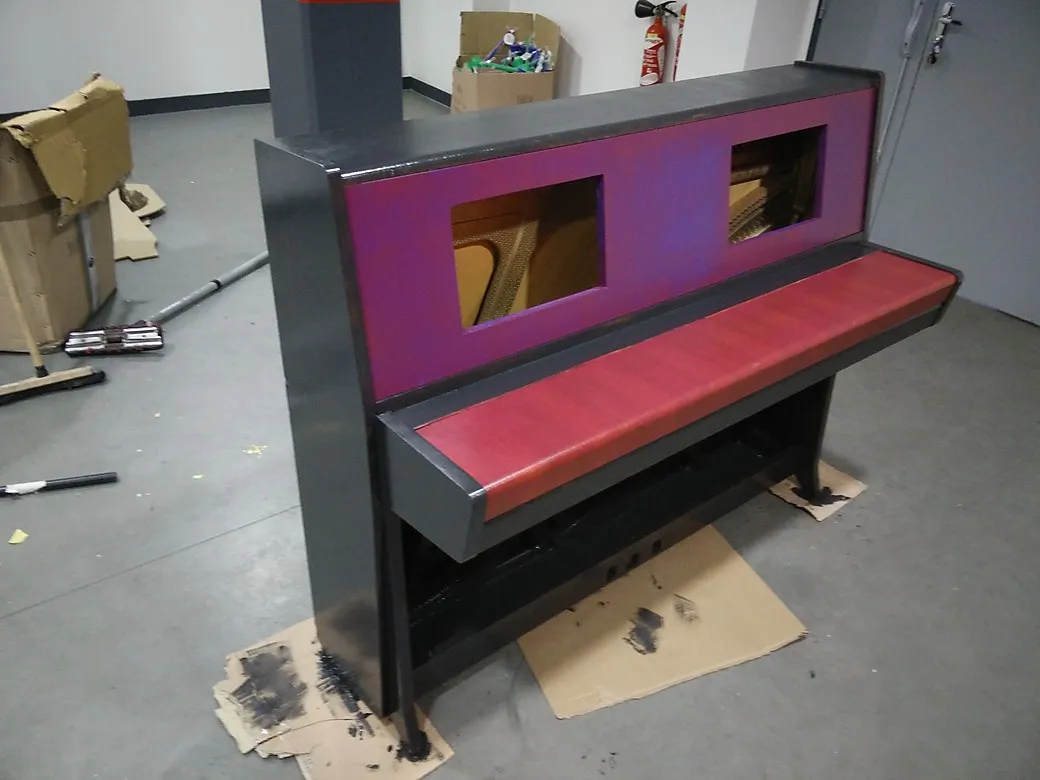
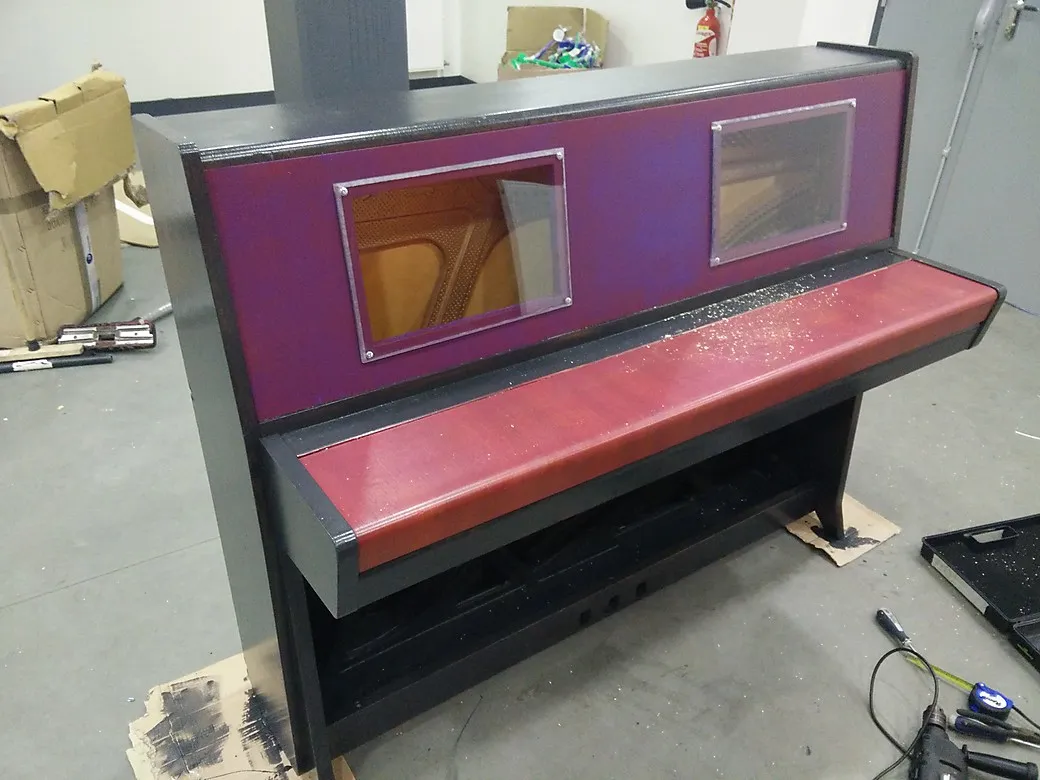
To prevent the screens from any kind of assault from ENSEEIHT energetic students, we mounted two half-centimeter polycarbonate bulletproof panes on the screen frames. Well… Good prevention is better than cure, don’t you think?

The LCD screens used for this project came from two similar dead laptops. At this time, we did not have the interface boards to use them with HDMI cables, but those were on their way, ordered on eBay for $40 each.
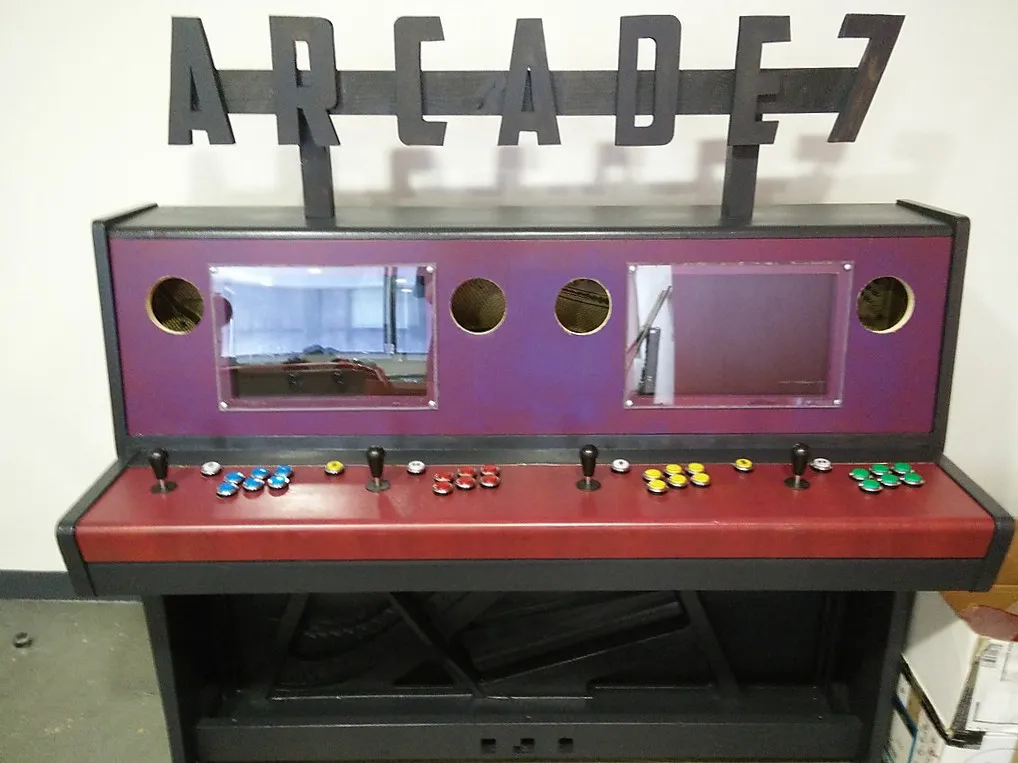
To give a name to the arcade machine, we cut out these awesome ARCADE 7 letters according to the Captain America font. Why ARCADE 7? Because at ENSEEIHT, we put sevens everywhere. In French, the school name can be pronounced n’ set, and phonetically, set means… 7.
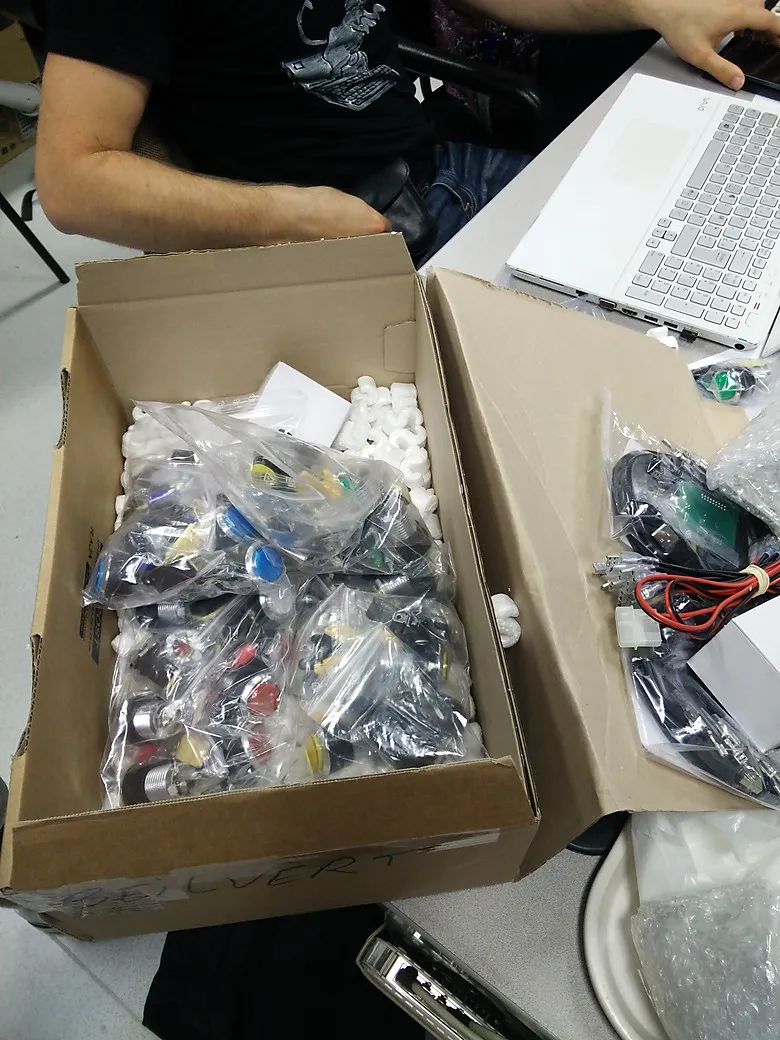
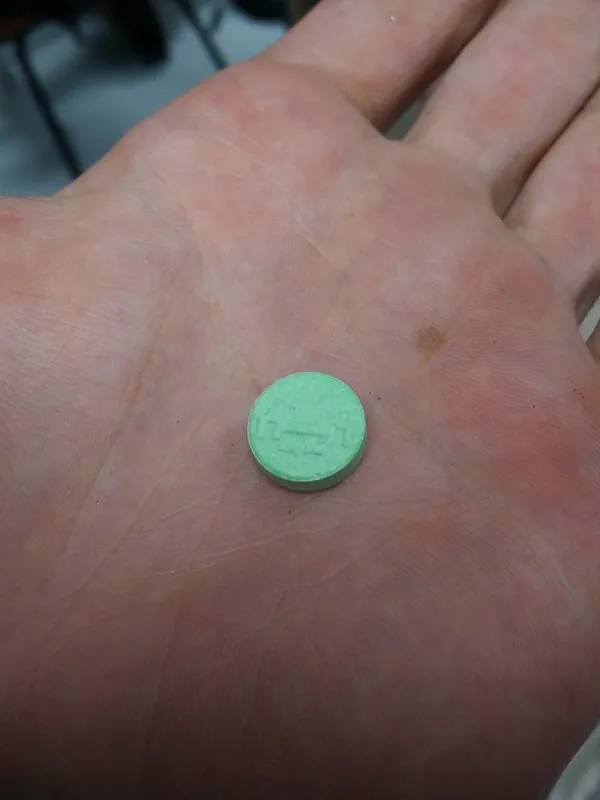
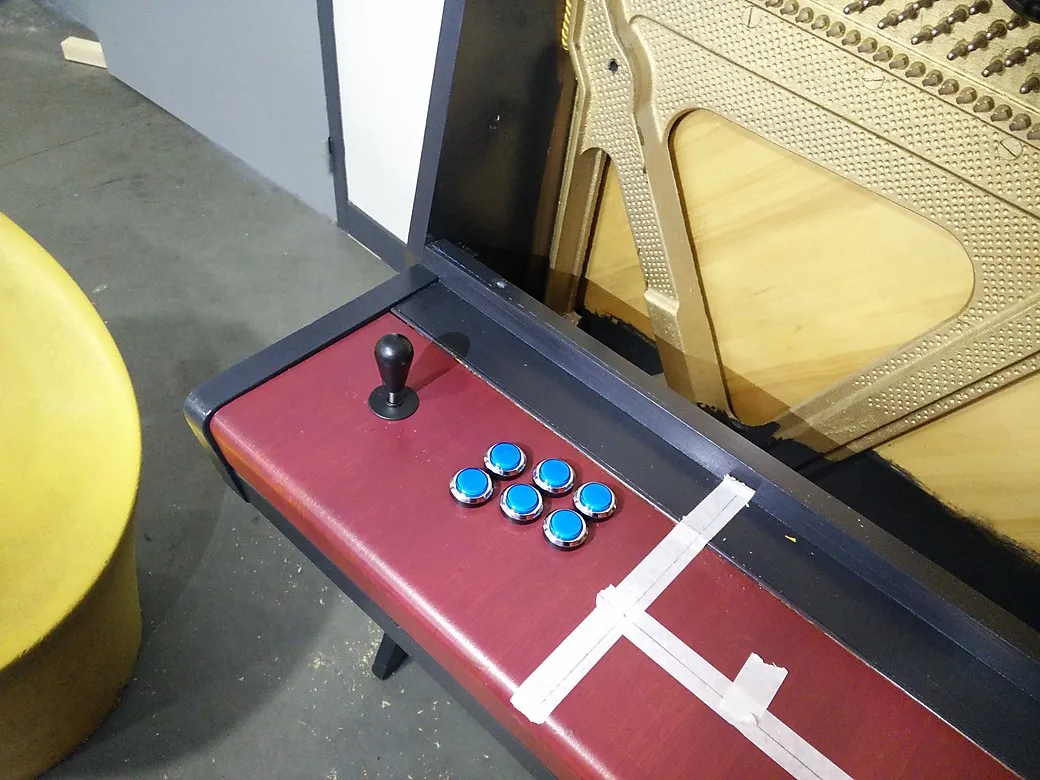
The joystick set from Smallcab has arrived! Double delight: it came with unexpected amazing Space Invaders candies! :D
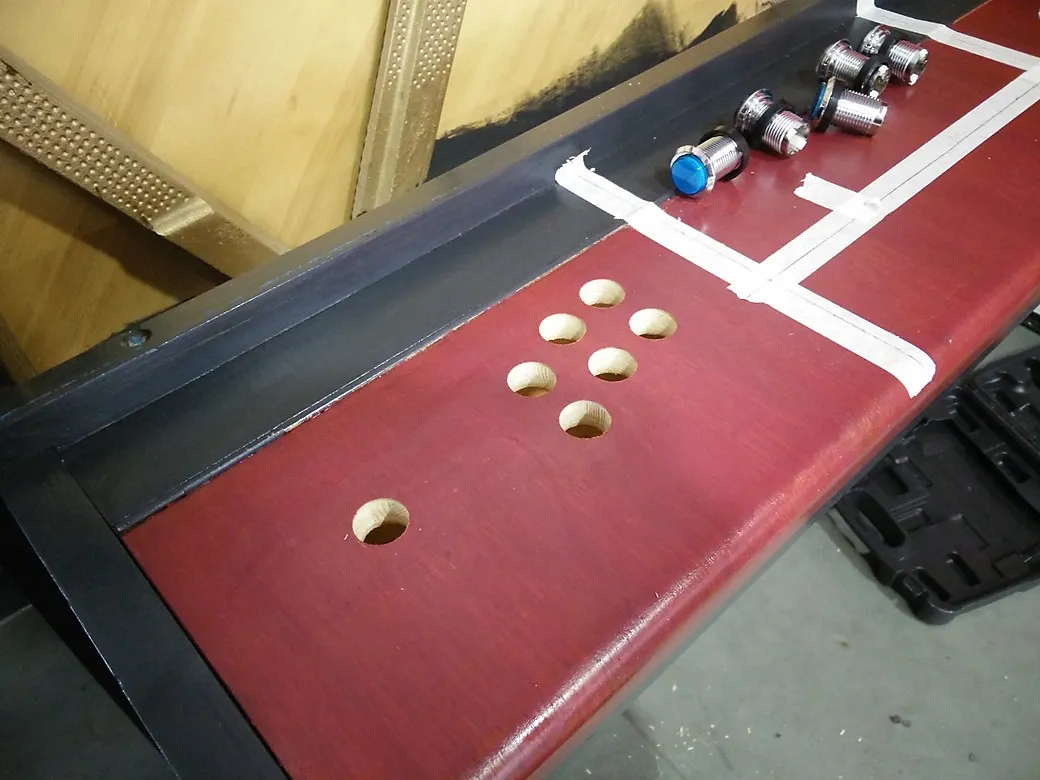
In order to place the buttons, we designed the most handy and pleasant pattern as possible on a piece of cardboard and drilled the holes directly through it.
The cardboard pattern has been very useful to repeat quickly the drilling operation for each player. After mounting every button, I used a hole saw to clear four openings for the speakers.
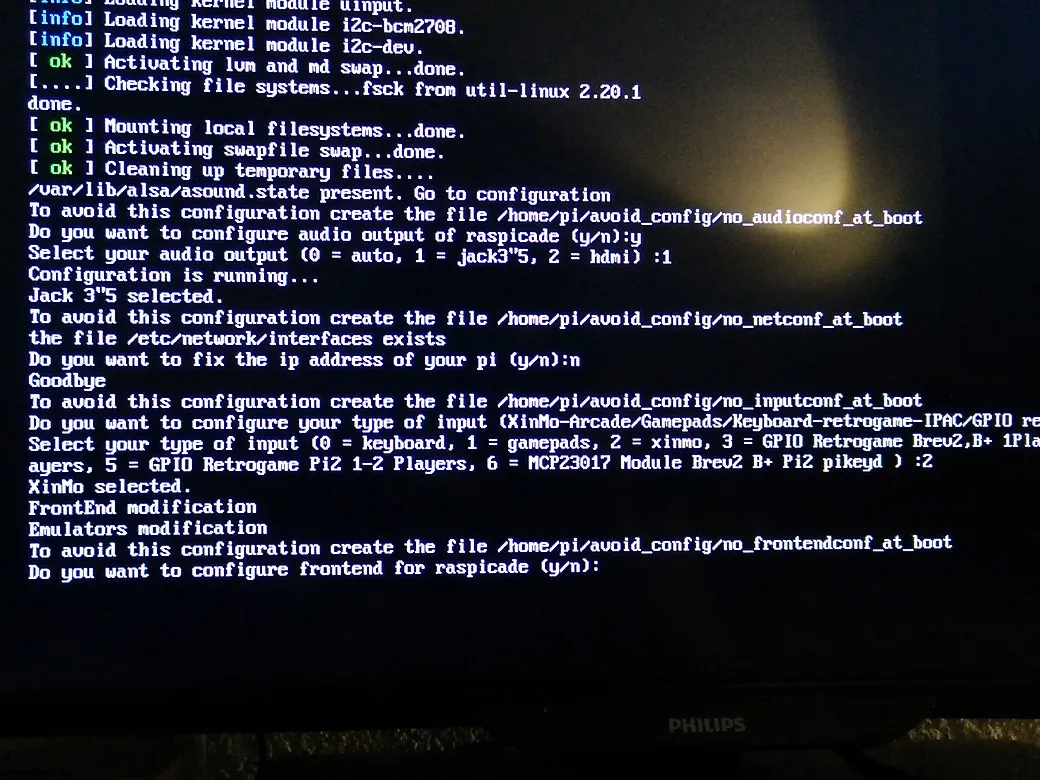

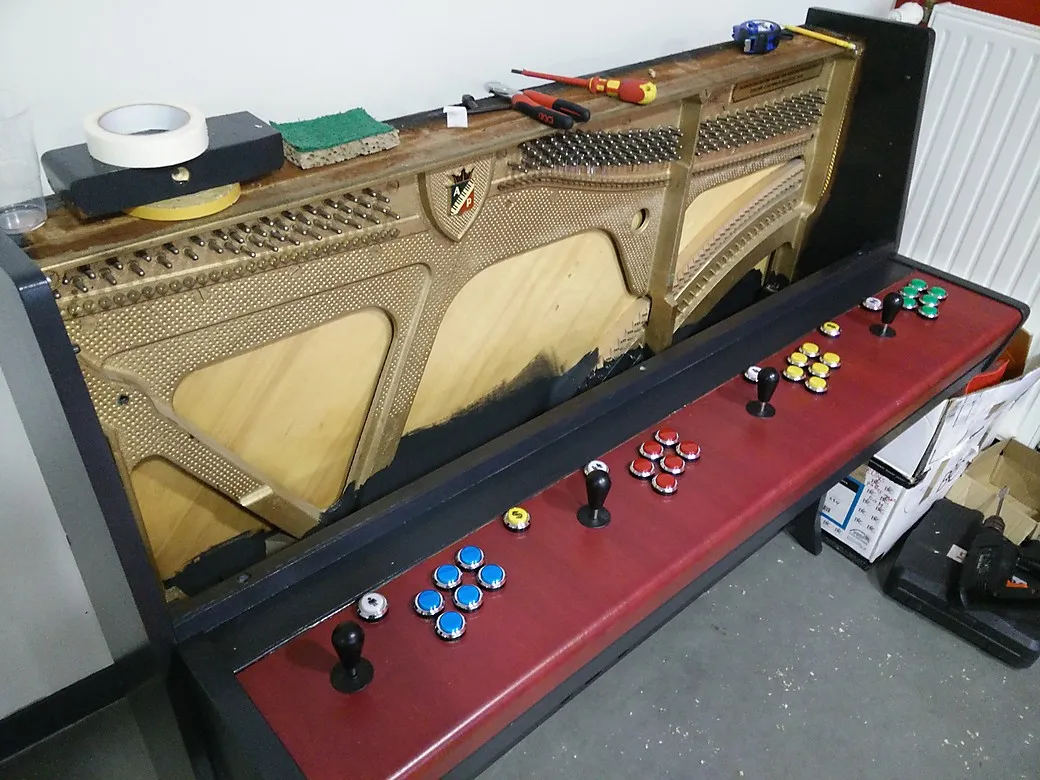
At this moment, we still did not have the screen controllers and the speakers, but I could keep working on the software aspect of the project. Thus, there comes the first boot of Raspicade on the amazing Raspberry Pi 2, and a quick exciting test featuring an old-school Atari game.
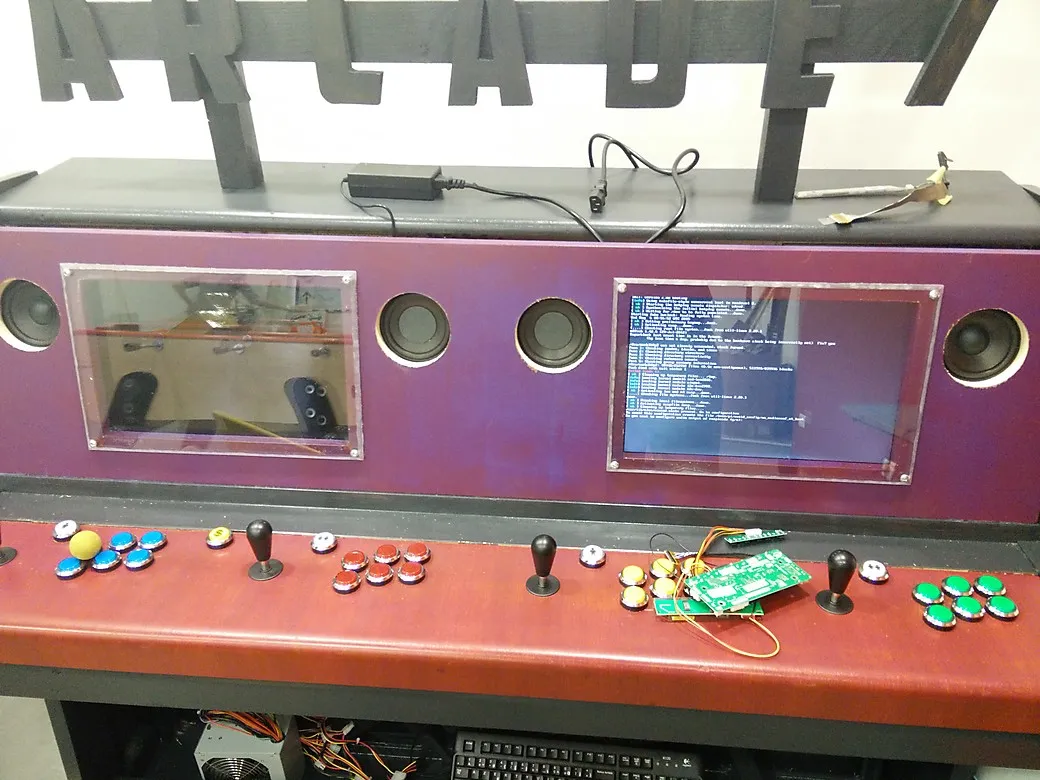
The LCD controllers have been received and they work like a charm! Time to hide every cable, power supply and electronic board in the piano.
Speakers and grills, also from Smallcab.